
Old Fashioned Fudge Recipe: 4-Step Classic Homemade Chocolate Fudge
Bakes & Sips American Confectionery / Vintage Heritage 🌿 Vegetarian, Gluten-Free

Old Fashioned Fudge Recipe: 4-Step Classic Homemade Chocolate Fudge

By Chef Abdessamad ·
4.9 (24 reviews)
👩‍🍳 Developed by Chef Abdessamad • ✅ Kitchen-Tested 3x in Home Kitchen • 🛡️ Safety: USDA Compliant • 🥧 Nutrition: Per-Serving Estimate
▼ Jump to Recipe
🕑 10 mins prep | 🔥 20 mins cook | 👥 36 squares (approx. 2 lbs) servings

Nothing evokes warm nostalgic holiday memories quite like an authentic old fashioned fudge recipe crafted completely from scratch on the stovetop. Long before marshmallow fluff and sweetened condensed milk shortcuts became popular, true confectioners relied on the magical science of boiling pure Dutch cocoa, cane sugar, rich dairy milk, and creamery butter to the soft-ball stage. When done right, this time-honored old fashioned fudge recipe produces an ultra-velvety, melt-in-your-mouth chocolate confection with a delicate crystalline crumb that modern microwave fudges simply cannot replicate.

Whether you’re packing festive holiday gift tins, baking for a school fundraiser, or treating your family to a classic weekend dessert, this kitchen-tested old fashioned fudge recipe guarantees foolproof candy-making success without any graininess or greasy separation.
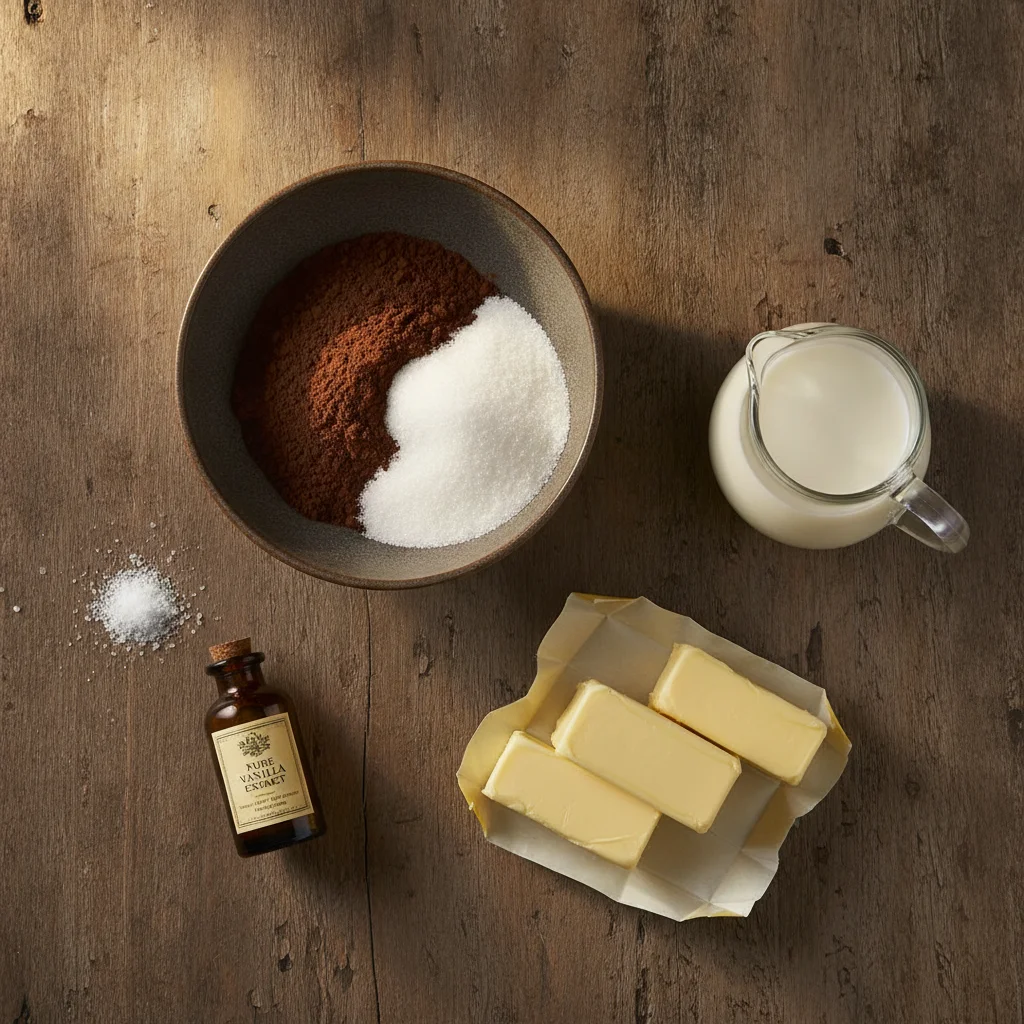
Raw pantry ingredients for old fashioned fudge recipe: granulated sugar, Dutch cocoa powder, milk, butter, and vanilla on rustic table
Pantry Ingredients for Old Fashioned Fudge Recipe: Granulated cane sugar, Dutch-process cocoa powder, whole milk, pure unsalted butter, and vanilla extract.

Key Ingredients for Old Fashioned Fudge Recipe & Smart Substitutions

Because candy making is precision culinary chemistry, every simple pantry ingredient in this old fashioned fudge recipe serves an essential structural and flavor purpose:

  • Granulated White Sugar: Pure cane sugar dissolves completely into the milk to create the supersaturated sugar syrup foundation that defines authentic old-school fudge.
  • Dutch-Process Cocoa Powder: Dutch cocoa has been treated with alkali to neutralize natural acidity, providing a deeply mellow, intensely dark chocolate flavor with zero bitter aftertaste.
  • Whole Dairy Milk or Evaporated Milk: Full-fat dairy provides the natural moisture and milk fats necessary to emulsify the molten sugar crystals into smooth confectionary syrup.
  • Unsalted Creamery Butter: High-quality butter adds richness, a glossy finish, and prevents premature sugar crystal formation during the critical cooling stage.
  • Pure Madagascar Vanilla Extract & Sea Salt: A generous splash of pure vanilla and a pinch of fine salt cut through the intense sweetness, balancing the rich cocoa notes.
  • Optional Flavor Add-Ins: Toasted chopped walnuts, pecans, or flaky Maldon sea salt sprinkled across the top just before setting.

Chef’s Pro-Tips for Perfect Old Fashioned Fudge Recipe & Safe Storage

Mastering this traditional old fashioned fudge recipe comes down to patience, accurate temperature monitoring, and three foundational chef rules:

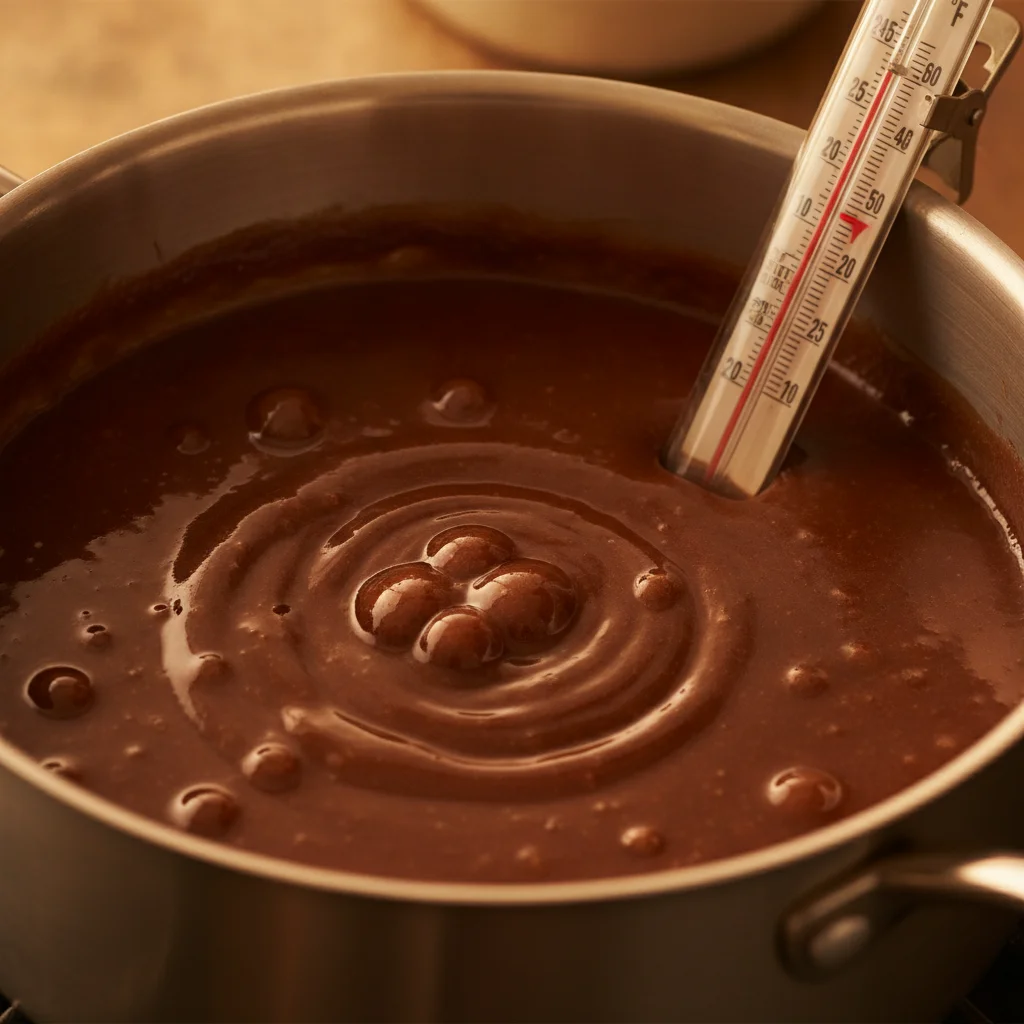
  1. Use an Accurate Candy Thermometer: Clip your thermometer to the side of the saucepan without touching the pan bottom. Cook the syrup without stirring once it boils until it reaches precisely 234°F to 238°F (112°C to 114°C)—the soft-ball stage. If you do not have a thermometer, drop a small spoonful into ice water; it should form a soft, pliable ball that flattens between your fingers.
  2. Never Stir the Boiling Fudge: Agitating boiling sugar syrup introduces unwanted seed crystals, causing the entire batch to seize into coarse, grainy chocolate. Let it simmer undisturbed over steady medium-low heat.
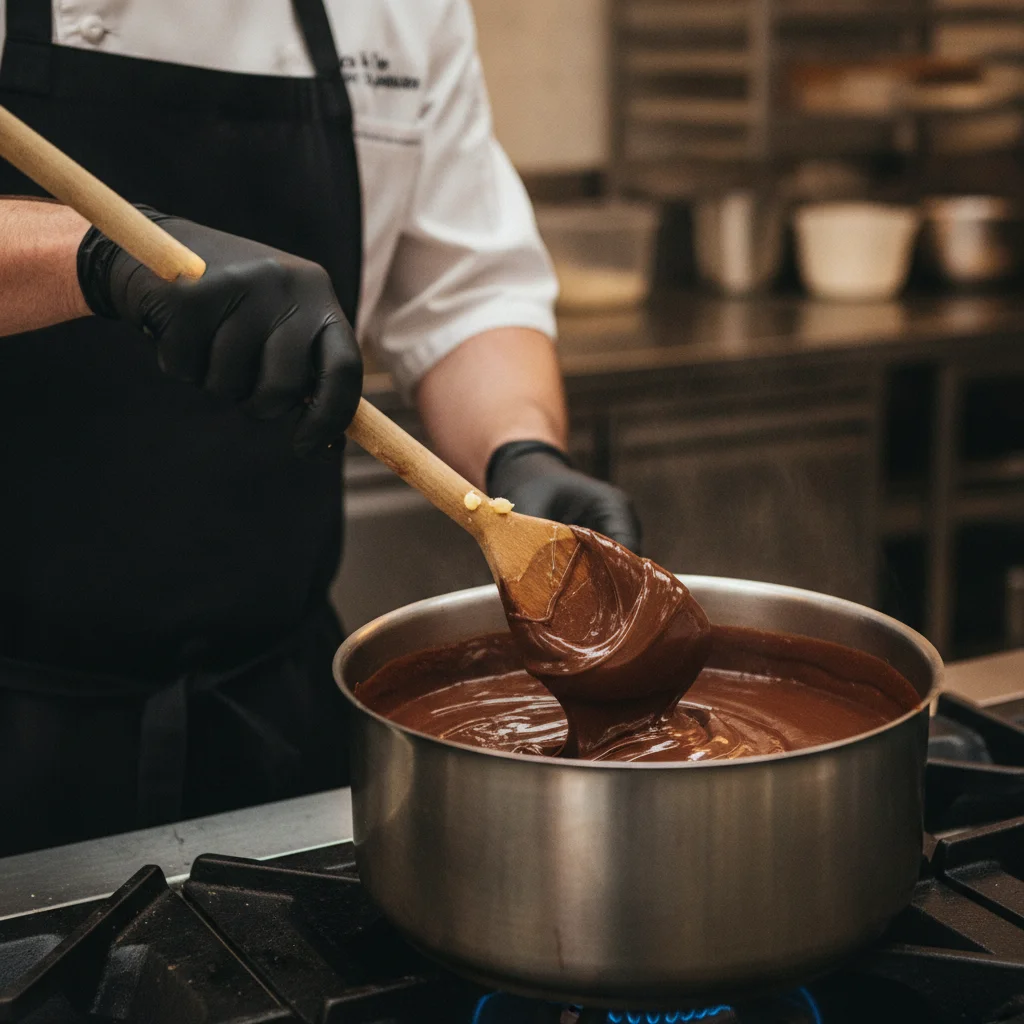
  3. Cool Before Beating: Allow the hot pan to rest completely untouched until lukewarm—around 110°F (43°C)—before beating vigorously with a wooden spoon. Beating while too hot causes graininess; beating at lukewarm temperature yields micro-crystals for a velvety, silky texture.
  4. Kitchen Safety & Storage Guidelines: Boiling sugar syrup reaches extreme temperatures; always keep children and pets away from the stovetop and handle with heatproof silicone oven mitts in accordance with USDA Food Safety Guidelines. Once sliced, store fudge in an airtight tin separated by parchment paper at room temperature for up to 2 weeks, or freeze for up to 3 months.
  5. Explore More Comforting Classics: If you love satisfying family dinners before sweet treats, check out our sizzling Authentic Discada Recipe (Northern Mexican Cowboy Skillet), or explore handcrafted bakery delights in our Bakes & Sips Collection.
✨ The Finished Plate

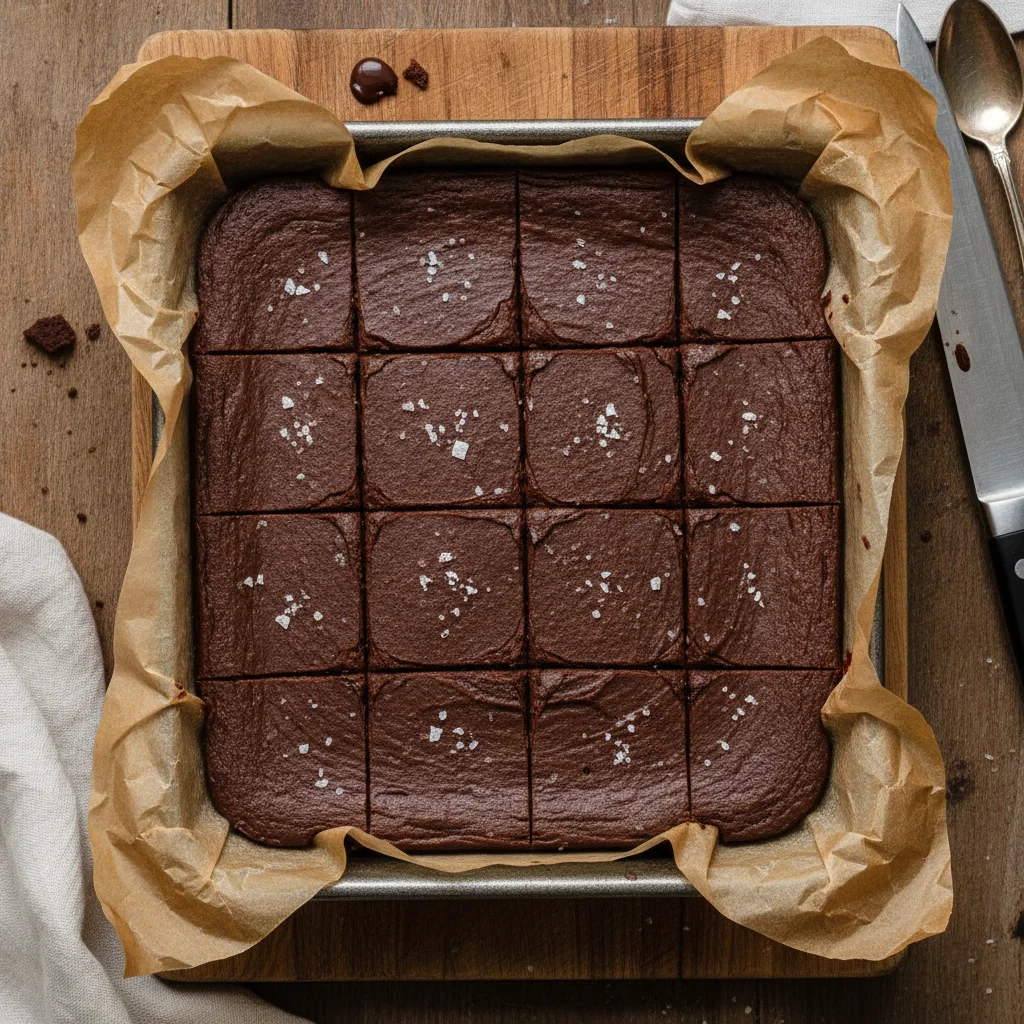
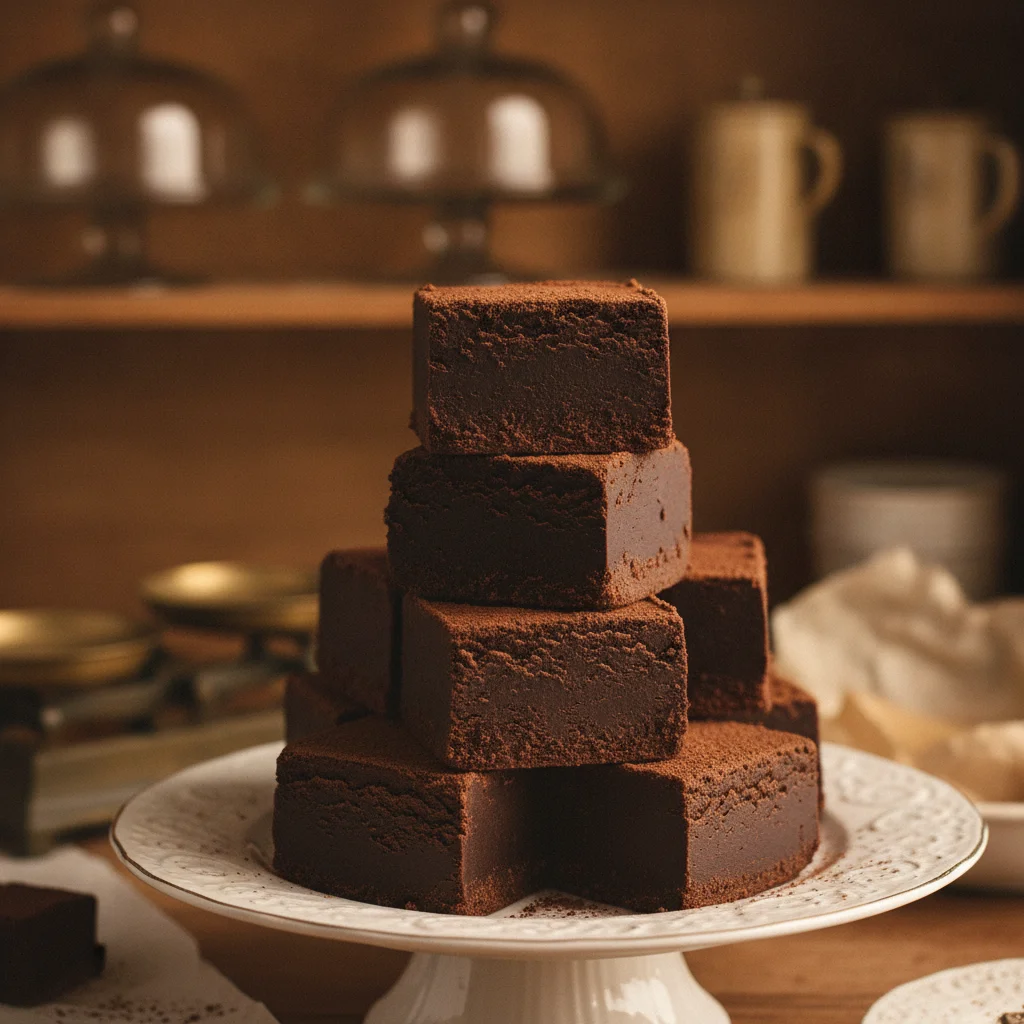
Old Fashioned Homemade Chocolate Fudge: Rich, Velvety & Melt-In-Your-Mouth

Old Fashioned Homemade Chocolate Fudge: Rich, Velvety & Melt-In-Your-Mouth 📷 Fresh from the kitchen

Crafted with genuine Dutch cocoa and creamery butter, this traditional stovetop fudge sets into firm, decadent squares that melt into silky chocolate heaven.

🍷 Pairing & Serving Suggestion

Slice into 1-inch squares and serve alongside rich espresso, black coffee, or cold milk. Pack into decorative holiday tins layered with parchment paper.

Tested Recipe Card

Old Fashioned Fudge Recipe: 4-Step Classic Homemade Chocolate Fudge

Old Fashioned Homemade Chocolate Fudge: Rich, Velvety & Melt-In-Your-Mouth

4.9 (24 reviews)
✨ The Finished Dish:

Crafted with genuine Dutch cocoa and creamery butter, this traditional stovetop fudge sets into firm, decadent squares that melt into silky chocolate heaven.

Old Fashioned Fudge Recipe: 4-Step Classic Homemade Chocolate Fudge 🍽 Final Dish
Prep Time 10 mins
Cook Time 20 mins
Total Time 30 mins (+ 2 hrs cooling)
Servings 36 squares (approx. 2 lbs)
Calories 135 kcal
Cuisine American Confectionery / Vintage Heritage
🌿 Vegetarian, Gluten-Free 🌎 American Confectionery / Vintage Heritage Cuisine 📚 Bakes & Sips

Ingredients

Servings:
  • 2 cups Granulated Cane Sugar
  • 1/2 cup Dutch-Process Cocoa Powder (sifted)
  • 1 cup Whole Milk (or Evaporated Milk)
  • 4 tbsp Unsalted Butter (cut into cubes)
  • 1 tsp Pure Madagascar Vanilla Extract
  • 1/4 tsp Fine Sea Salt
  • Optional Add-Ins:
  • 1 cup Toasted Chopped Walnuts or Pecans
  • Flaky Sea Salt for finishing

Step-by-Step Instructions

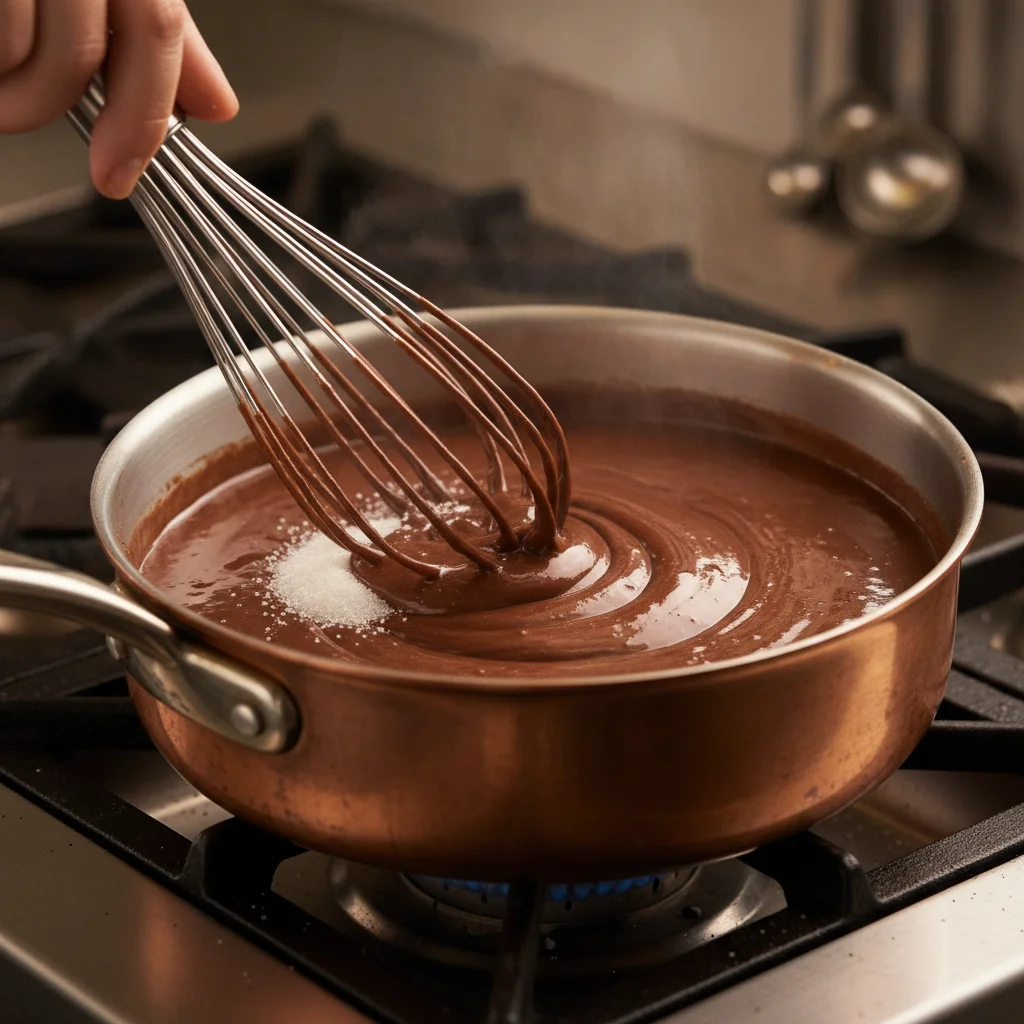
Whisk Dry Ingredients & Milk in Heavy Saucepan

Line an 8-inch square baking pan with parchment paper, leaving an overhang for easy lifting. In a heavy 3-quart saucepan, whisk together granulated sugar, sifted Dutch cocoa powder, and salt. Stir in whole milk until thoroughly combined and smooth. Place over medium heat and stir constantly until the sugar dissolves and the mixture begins to boil.

Whisk Dry Ingredients & Milk in Heavy Saucepan

Boil Undisturbed to Soft-Ball Stage (234°F)

Once the mixture reaches a full rolling boil, stop stirring immediately. Clip a calibrated candy thermometer to the side of the saucepan, ensuring the bulb does not touch the bottom. Boil gently over medium-low heat without disturbing until the thermometer reads exactly 234°F to 238°F (112°C to 114°C), about 12 to 15 minutes.

Boil Undisturbed to Soft-Ball Stage (234°F)

Cool Untouched, Then Beat Vigorously with Butter & Vanilla

Remove saucepan from heat immediately. Add butter cubes and vanilla extract directly on top of the hot fudge without stirring. Let the saucepan sit completely undisturbed at room temperature until the bottom cools to lukewarm—approximately 110°F (43°C), about 40 to 50 minutes. Using a sturdy wooden spoon, beat the fudge vigorously for 5 to 7 minutes until it loses its glossy shine and turns thick and velvety matte.

Cool Untouched, Then Beat Vigorously with Butter & Vanilla

Spread, Chill and Slice into Perfect Squares

Quickly scrape the warm fudge into the prepared parchment-lined pan before it sets. Smooth the top evenly with an offset spatula. If desired, press toasted walnuts or sprinkle flaky sea salt across the surface. Let cool completely at room temperature for 2 hours until firm. Lift out using the parchment overhang and slice into 36 neat 1-inch squares with a warm, sharp knife.

Spread, Chill and Slice into Perfect Squares
💡 Chef's Pro Tip

Chef Abdessamad's Testing Note: The secret to velvety fudge is letting the pan cool completely to 110°F (lukewarm) without stirring before beating. Beating while hot creates coarse, grainy sugar crystals, whereas beating at lukewarm temperature yields micro-fine crystals that melt like silk on the tongue.

❓ Kitchen FAQ

Frequently Asked Questions

Common questions, make-ahead tips, and ingredient substitutions for Old Fashioned Fudge Recipe: 4-Step Classic Homemade Chocolate Fudge.

Why did my old fashioned fudge turn out grainy?

Grainy fudge is caused by sugar crystals forming prematurely. This happens if you stir the fudge while it is boiling, scrape down dried sugar crystals from pan sides, or begin beating the mixture while it is still too hot. Always let it cool untouched to 110°F before beating.

How do I know the fudge is done without a candy thermometer?

Use the cold water test: drop a half teaspoon of boiling syrup into a bowl of ice-cold water. Reach in and gather the syrup with your fingers. If it forms a soft, pliable ball that holds its shape when removed from water but flattens between your fingers, it has reached the soft-ball stage.

Can I use regular natural cocoa powder instead of Dutch-process?

Yes, natural unsweetened cocoa powder (like Hershey's) can be used. However, Dutch-process cocoa delivers a deeper, darker color and smoother chocolate profile with less sharp acidity.

How long does homemade old fashioned fudge keep fresh?

Stored in an airtight container with layers separated by parchment paper, old fashioned fudge stays fresh at room temperature for 2 to 3 weeks. Avoid refrigerating, which introduces condensation that makes the surface sticky.

Category: Bakes & Sips
About the Recipe Developer

Chef Abdessamad

Chef Abdessamad is the founder and head culinary developer at Flavor Hearth Recipes. With over a decade of hands-on home cooking and culinary recipe development, he specializes in foolproof comfort food, authentic Mediterranean heritage dishes, and weeknight family favorites. Every recipe is tested at least three times in real home kitchens using standard equipment to guarantee perfect, repeatable results every single time.